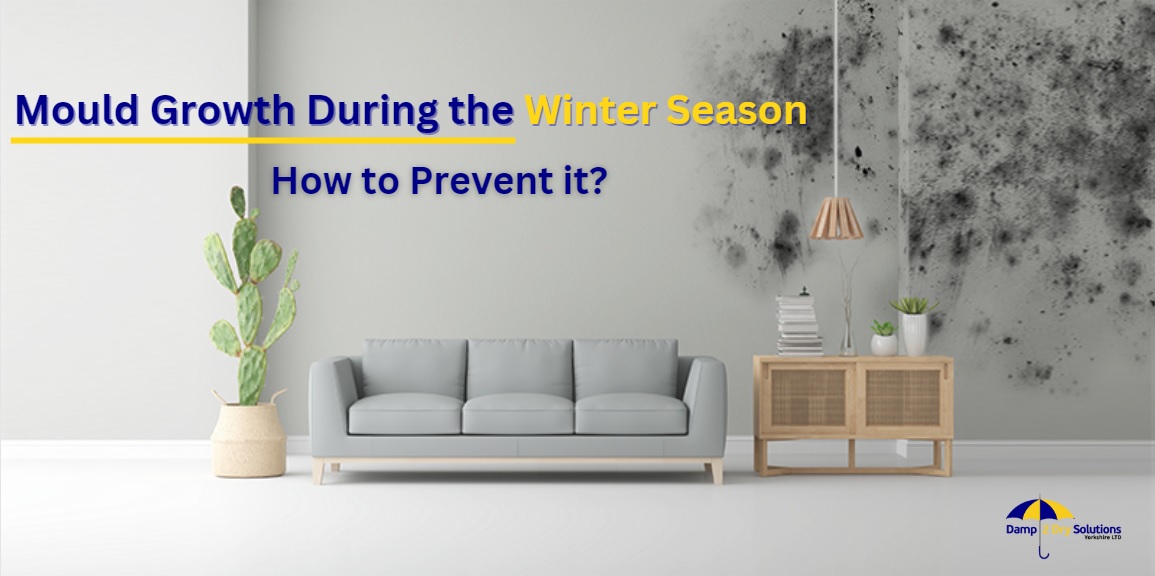
Mould is not just a stain on a wall that makes it look shabby. If not treated on time, it finds its way back.
In many homes in the UK, excess moisture, condensation, and poor ventilation are persistent problems that make suitable conditions for mould. Here, these spots quietly regrow, even after you have cleaned the surface thoroughly.
On top of that, the cold external walls, old brickwork, and bathrooms with no ventilation make the mould situation a never-ending loop.
The NHS warns that continuous exposure can worsen someone’s asthma and cause allergies & breathing issues. All of it makes prevention a priority over a quick fix.
An anti fungal wall treatment offers a longer-term solution by killing hidden spores and sealing the surface against regrowth. Combined with simple moisture control, anti mould coatings can finally break the pattern and keep your walls dry, clean, and healthy.
Read further to learn more about it!
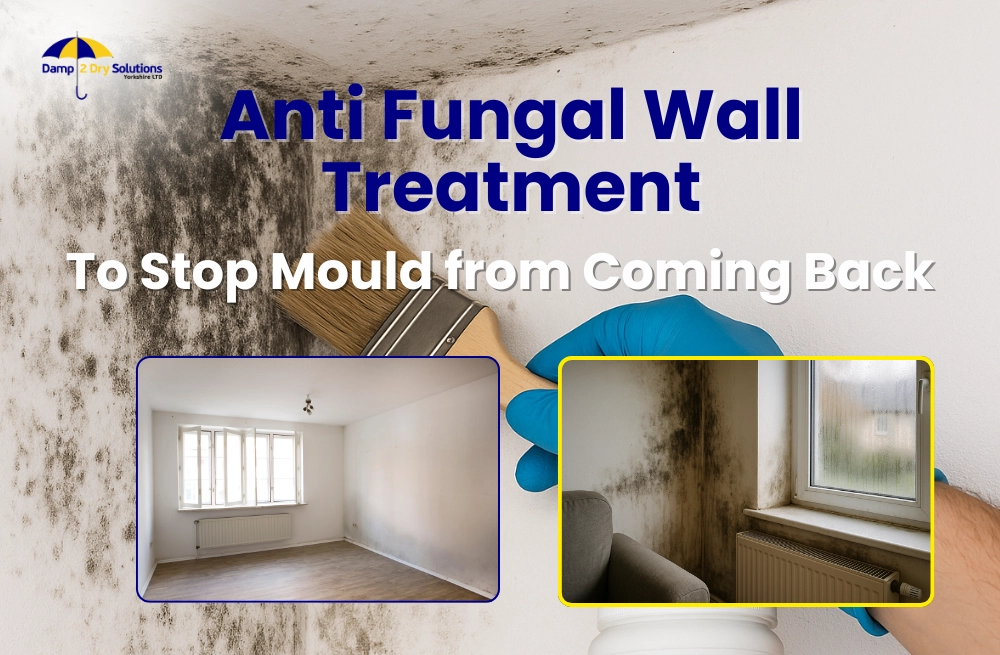
What Is an Anti-Fungal Wall Treatment and How It Works?
An anti fungal treatment for walls prevents moulds from coming back once the surface is cleaned.
Here, the spores that cause these problems are targeted instead of just working on the stains. Special ingredients are used that kill mould at a microscopic level. To ensure that it doesn’t come back, a thin layer is also left on top to keep the moisture out.
Take a look at how each treatment works:
| Type of Treatment | What It Does | Best Used On | Main Benefit |
|---|---|---|---|
| Fungicidal Wash | Removes mould, algae, and spores before painting | Inside or outside walls | Cleans and disinfects the surface |
| Primer or Sealer | Prepares the surface and stops damp from soaking in | Plaster or areas prone to damp | Helps paint stick and protects from moisture |
| Anti-Mould Paint | Prevents new spores from forming after painting | Bathrooms, kitchens, basements | Long-term protection against mould |
| Breathable Masonry Coating | Lets walls release moisture while resisting new growth | Exterior brick or render | Stops mould without trapping damp |
Each type works in a similar way, by breaking down mould spores and making the wall harder for them to grow on.
Still, even the best anti mold coating can only do so much if dampness or leaks are left untreated. For the best results, sort out any moisture issues first, then apply the treatment to keep your walls dry and protected.
Interested Read: Fed Up with Condensation at Home? Here’s How to Fix It
Top Reasons For Wall Fungus and Mould
Mould and fungal growth usually appear where excess moisture meets poor ventilation. The most common triggers include:
- Persistent condensation from bathrooms or kitchens
- Leaking pipes, gutters, or roofs
- A bridged or failed damp-proof course (DPC)
- Cold bridges and poorly insulated walls
- Penetrating damp through cracked render or porous masonry
Fungus on walls isn’t the problem itself. It’s a sign that there is moisture trapped under the surface.
Let the area dry completely first, get all leaks repaired, and improve the ventilation before you start any anti-fungal treatment for walls. It’s better you solve the root cause of the problem first, and then apply the anti fungicidal paint. This way, you’ll prevent mould from returning, and your walls will stay cleaner for a long time.
How Do You Prepare Walls For Anti-Fungal Treatment?
Even the best treatment doesn’t last long if there is scope for moisture to build up. That’s why you need to check and repair leaks, fix your ventilation issue, and let the wall dry completely.
Only then can you start working on the walls that need anti-fungal walls treatment. Here the process in detail:
- Get rid of flaking paint and visible mould patches with a scraper or stiff brush.
- Next, wash the wall with a mix of warm water and mild detergent. This will help remove any dirt, grease, or residue left after scraping.
- Apply a fungicidal wash evenly on the affected area and let it dry for a full day. This process kills even the hidden moulds that you can’t see with the naked eye.
- Read the label of your products clearly to see if you can let it dry or you have to rinse it off.
- Furthermore, give enough time to let the wall dry completely, because these walls can trap moisture under the coating.
- Lastly, fill the cracks and smoothen the surface by patching any small holes or uneven areas.
Wear gloves, masks, and eye protection for safety purposes, and keep the windows open for proper ventilation. Read the safety notes and dispose of the waste under COSHH guidance.
Once the wall is dry and smooth to touch, it’s time you put on the antimould treatment that will prevent the mould from returning.
Applying Anti-Fungal Paints and Coatings
Below we have answered some of the most asked questions on applying coatings and antifungal paints in the best and most effective manner. Find all the minor details that help you get the most of your investment.
Q1: How do I start applying the treatment?
To get started, give the tin can a good stir. Once all the ingredients are mixed well, you have a solution that’s more protected and will apply evenly throughout the surface.
Q2: How many coats should I use?
For most walls, two coats are more than enough. You have to put a light coat first with a roller or brush and let it dry. Then, you go again and apply the second coat. Wait a few hours between the two coats so that the paint sticks better and lasts longer.
Q3: What type of product should I choose?
If you paint inside, choose a water-based paint which doesn’t smell too strong and the air stays fresh. For outside walls, you can pick a breathable masonry coating, which won’t let any moisture stay trapped in the wall.
Q4: Can I paint straight over existing mould?
No. If you paint over the damp wall or mould, it won’t hide the problem for long. The trapped moisture will bring it back quickly. Always clean the area first with a mould & mildew cleaner to ensure there are no spores.
Q5: How long will the protection last?
When applied correctly, an anti mould treatment can protect your walls for around five years. After that, reapplying a fresh coat helps keep your home dry, clean, and mould-free.
Related Reading: Signs of Damp in Walls and How to Deal with Them
How Do You Keep Your Walls Mould-Free After Treatment?
Have walls that are dry and painted? Adopt a few easy habits and stop mould from coming back.
For the start, keep the air inside your home as dry as possible. Aim for a humidity level of 50% or less. For this, turn on extractor fans, open windows for a short while every day, and use a small dehumidifier if the room smells damp. Keep the house evenly warm, because cold walls attract moisture.
It’s a good idea to check the roof and gutters a couple of times a year so rainwater doesn’t find its way inside. Winters are more prone to moisture, so make a habit of checking corners and ceilings every few months.
To protect the bathrooms and basements, add a new coat of paint every few years here too. Doing these small things helps the anti mould interior coating and its mould inhibitor stay effective for longer.
What Are the Eco-Friendly and Safe Options for Treating Mould?
Not every anti fungal wall treatment is made from harsh chemicals. Many modern products in the UK are made with natural ingredients and meet the HSE-approved biocide standards.
It means they are safe and effective and kinder to your home, family, and environment.
| Type of Eco Option | What It’s Made From | Why It’s a Good Choice |
| Lime- or Mineral-Based Paints | Natural minerals and lime | Doesn’t trap the moisture in old brick or stone walls. Instead, moisture escapes easily, walls stay dry, and the space stays protected against damp and mould. |
| Low-VOC or Odour-Free Paints | Water-based binders with minimal solvents | Safer for children, pets, and people with allergies; improves indoor air quality. |
| Essential Oil Blends | Tea tree, thyme, or citrus oils | Natural anti-fungal properties and a light, pleasant scent |
| Eco-Friendly Damp Proof Paint | Breathable, water-based resins | Doesn’t seal the damp. It reduces condensation and moisture build-up. |
Want to keep your home healthy without strong chemicals? Then go for these materials, as they let your house stay fresh and are made with natural materials. When you use them, less waste and fewer chemicals will go down the drain.
When Should You Call a Professional?
One can resolve their mould problems with timely cleaning and care. But sometimes, you may have to bring in damp-proofing specialists. Here are some signs that you may need experts:
- Mould keeps coming back despite harsh cleaning.
- The mould patch is larger than one square metre.
- You notice rising damp patches near the skirting boards.
- Paint or plaster is flaking with a strong and stubborn musty smell.
- You suspect there is rising or penetrating damp that cleaning couldn’t fix.
A no-obligation, professional damp survey can find out these hidden moisture problems that ordinary cleaning can’t fix. Thermal cameras and moisture meters are some advanced tools these experts use to find out the water levels. With their help, you can get the source of moisture fixed.
If you’re not sure where the damp is coming from, our team of damp specialists at Damp 2 Dry Solutions can carry out a detailed damp survey anywhere across Huddersfield, Halifax, Leeds, or nearby areas in Yorkshire. We’ll identify the cause, explain your options clearly, and recommend the most effective fix for your home.
Call 074-0155-3791 to book your free, no-obligation survey and get expert advice before the damage spreads. Sometimes, just combining a proper repair with a good fungicidal wash is all it takes to solve the problem for good.