Damp is one of the most common and frustrating home maintenance problems faced by UK homeowners.
What starts as a small patch or peeling paint on a wall can quickly lead to plaster damage, structural decay, and even health risks from black mould. No matter if it’s caused by rain, humidity, or a failed damp course, early action makes all the difference.
In this blog, we’ll show you how to spot the warning signs and how to treat damp walls internally before it spreads. As a long-standing DPA (Damp Proofing Association) member, we understand the science behind every type of wall dampness, from rising moisture to condensation and know exactly what it takes to restore your home to a safe, dry, and healthy condition.
Common Signs and Types of Damp in Walls
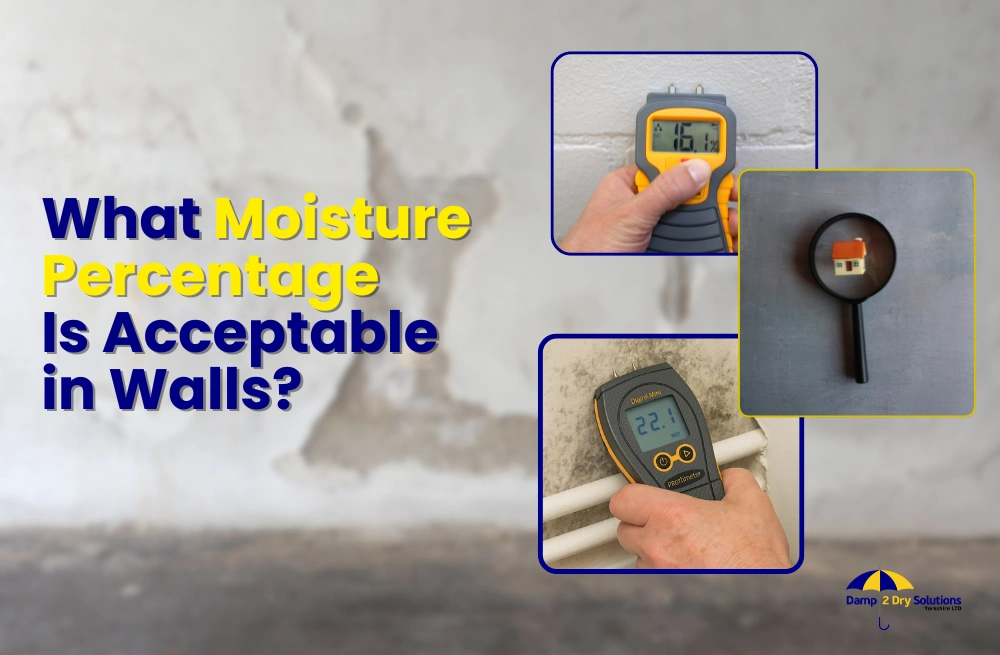
Most damp wall start with small and visible signs. For example, you may see a musty smell, dark patches, or plaster that has started flaking.
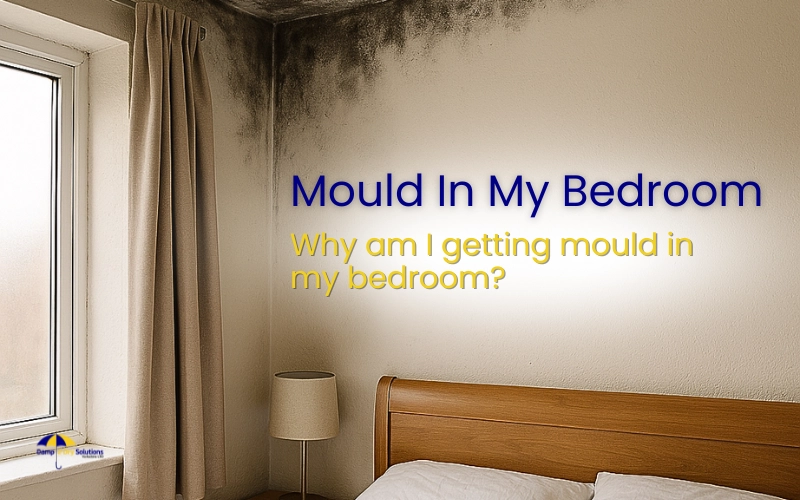
Over time, moisture leaves salt marks, wallpaper starts to peel, and skirting boards may soften or rot. Black mould often appears in corners or around windows, and condensation droplets on cold surfaces show trapped humidity.
Whether caused by rain, rising moisture, or poor ventilation, these early signs mean it’s time to act. Choosing the right damp wall treatment for your home will also become easier once you know which type of problem you are facing.
| Type of Damp | Typical Signs | Main Cause / Fix |
|---|---|---|
| Rising Damp | Tide marks up to 1 m, salt residue, soft plaster | Ground moisture: check or install a DPC |
| Penetrating Damp | Damp patches after rain, bubbling paint | External defect; repair render, gutters, wet exterior walls |
| Condensation | Water droplets, black mould, cold walls | Indoor humidity: improve ventilation and insulation |
Not sure how to get rid of damp?
Start with the basic inspection. Look for these signs early, keep a proper airflow, and fix the leaks fast. In many cases, you can avoid damage to the structure or finishes of your home by just spotting it early.
How to Identify the Root Cause of Damp in Walls?
Before you start with any repair, figure out from where the moisture is coming in your home. With these quick checks, you can narrow down your spots:
- Location: Damp near the skirting board often points to rising damp signs, while patches higher up suggest penetrating damp.
- Timing: If stains worsen after heavy rain, the source is likely external.
- Touch test: Cold, damp surfaces inside indicate condensation or poor airflow.
- External check: Look for cracked render, faulty gutters, or blocked downpipes.
- Professional help: When unsure, book a free and independent damp surveyor to assess the issue and recommend suitable damp treatment.
Identify the exact source early to prevent repeated damage and save yourself from unnecessary repair costs later.
How Can You Fix Damp in Walls?
To prevent any long-term damage, you first need to find out the source of moisture in your home. Once you find it, you can fix it in three steps:
- Repairing the cause,
- Restoring the surface, and
- Preventing immediate recurrence.
Step 1: Fix the Source
| Type of Problem | What to Do |
|---|---|
| Condensation | Improve airflow with extractor fans or dehumidifiers, and maintain consistent heating throughout your home. |
| Penetrating Damp | Seal exterior cracks, repoint damaged brickwork, clear blocked gutters, and apply a waterproof masonry coating to protect external walls. |
| Rising Damp | Install a new chemical DPC (damp proof course) to block moisture rising from the ground. Replace salt-damaged plaster and finish with breathable renovating plaster. Understanding rising damp causes early helps prevent the issue from recurring. |
Step 2: Clean and Restore
Remove visible mould with an approved mould wash or mild biocidal cleaner. Then, let the area dry before you repaint it with an anti-mould or anti-condensation paint. With that, you can prevent the spores from returning and improve air quality indoors.
Step 3: Reassess and Monitor
How to get rid of dampness if you still see moisture patches?
First of all, it means that quick fixes won’t do anything, because there is a deeper problem in your walls. The best thing to do is call in independent damp surveyors who will inspect the site and suggest how to treat dampness in internal walls safely, depending upon the cause of damp.
We at Damp2Dry give a 20-year guarantee on all our damp-proofing services.
Learn in detail: How to Stop Damp Patches on Your Internal Walls?
Keep Damp Away for Good
Got your walls repaired? Make sure to do regular maintenance to never let damp in your walls again:
- Every season, clean gutters and downpipes.
- For good ventilation, keep the air vents open.
- Have a quick look at the pointing and render outside and get any cracks sorted.
- Try to dry your washing outside when the weather allows.
- Don’t push furniture tight against the walls – leave a bit of space so air can move around.
- Keep the heating ticking over at a steady, comfortable level through the colder months.
If you start noticing stains, paint peeling off walls, or bits of timber that feel soft, it’s worth getting it checked. A quick damp survey from a local DPA member can tell you what’s really going on and stop it from getting worse.
Sorting it early and knowing how to treat damp walls properly can save a lot of hassle (and money) later on. The sooner you deal with it, the easier it is to keep your home dry, comfortable, and looking its best.
Book your professional damp survey today to make sure your walls stay dry for years to come.