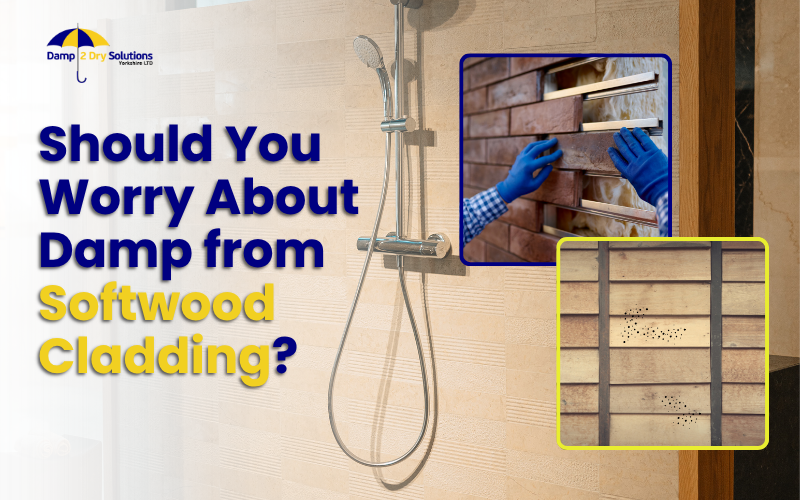
Softwood cladding can make a home look stylish, warm, and modern. But behind the good looks, it’s important to ask: can it cause damp?
In the UK, where we get over 130 rainy days a year, poor cladding installation or the wrong timber can trap moisture and lead to problems. If you’re thinking about cladding your home, or you’ve already done it and spotted damp patches, this guide is for you.
We’ll break down:
- How softwood cladding can cause damp if not done right
- What a proper installation should look like
- What kind of timber treatment is needed to protect your home
- When to get professional help
What Is Softwood Cladding and Why Is It Used?
Softwood cladding involves attaching timber boards to the outside of a building. It’s popular in the UK for giving homes a natural look, improving insulation, and even boosting property value.
Softwoods like pine, spruce, larch, and fir are widely used because they’re:
- Affordable and easy to work with
- Readily available across the UK
- Lightweight, making them suitable for most buildings
Softwood Cladding Common Uses:
- Garden buildings, sheds, and outbuildings
- Extensions or feature walls on homes
- Barn conversions and countryside homes
While softwood is a great choice visually and financially, it must be installed and treated correctly — otherwise it can become a trap for moisture.
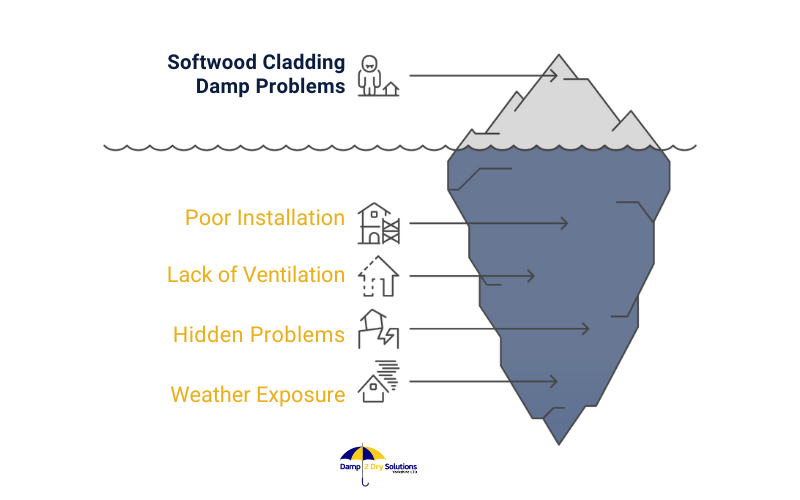
Can Softwood Cladding Cause Damp Problems?
Yes — but not always. The cladding itself isn’t the problem. Damp happens when the timber is installed poorly, over damp walls, or without the right ventilation and protection in place. Here’s how things can go wrong:
1. Trapping Damp Inside Walls
If your external walls are already damp, from rising damp, penetrating damp, or condensation — and you cover them with timber, the moisture can’t escape. You’ve basically sealed in the problem. Over time, that moisture builds up, rots the timber, damages insulation, and even affects indoor walls.
2. No Ventilation Gap
Timber needs to breathe. If your cladding is fixed directly to the wall without an air gap, there’s nowhere for moisture to evaporate. This leads to condensation behind the boards, fungal decay, and mould growth, all hidden until the damage is severe.
3. Weather Exposure
In windy, wet areas (like much of the North and West UK), cladding gets battered by rain. If boards aren’t treated or installed correctly, water seeps in through joints and ends, leading to slow damp build-up.
4. Poor Timber Choice
Some softwoods are naturally porous. If you use untreated pine or spruce, they absorb moisture like a sponge. Once wet, they hold water against the wall — and your problems begin.
5. Hidden Problems
Unlike brick or render, cladding can hide signs of damp for years. You won’t spot bubbling paint, dark patches, or salts until they break through inside your home.
Risks of Rushed or Poorly Planned Installation
Installing cladding isn’t just a cosmetic job. When rushed or done without thought, it often causes more problems than it solves. So What Can Go Wrong?
- Cladding over damp walls: Covering walls that haven’t dried out properly traps moisture and speeds up decay.
- Skipping vapour barriers: This is like forgetting to wear a raincoat in a downpour, water gets in and stays in.
- Inadequate air gaps: Some builders skip battens to save time. But without that vital gap, airflow stops and mould starts.
- Low-quality fixings: Using nails or screws that rust introduces even more moisture over time.
- Ignoring drainage: Without proper channels or sloping, rainwater runs down and pools behind the cladding.
Once water gets behind the cladding and can’t escape, damp becomes a long-term issue. It can rot the timber, damage your walls, and make insulation soggy and useless.
The Right Way to Install Softwood Cladding (and Avoid Damp)
Installing softwood cladding the proper way can completely prevent damp, but only if done to high standards.
Step-by-Step: How to Do It Right
Step 1. Start with a Dry Wall
Never install cladding over walls that are damp, mouldy, or recently re-rendered. Always allow plenty of time for drying or get a professional damp survey to check.
Step 2. Install a Vapour-Permeable Membrane
This is a breathable layer fixed to the wall before the cladding goes on. It protects the wall from rain while still letting moisture escape outwards.
Step 3. Fit Treated Timber Battens
Cladding should be mounted on vertical battens that are:
- Pressure-treated against rot
- Spaced to allow airflow
- Firmly fixed to the wall (use stainless steel screws if possible)
Step 4. Maintain a Minimum 25mm Air Gap
There must be at least a 25mm (1 inch) gap between the wall and the back of the cladding. This allows:
- Air to circulate and dry any trapped moisture
- Rainwater to drain out at the bottom
Step 5. Use Drip Detailing and End Seals
Install cladding with a slight overlap and angle to let water run off. Use end grain sealants on cut timber to prevent water soaking in.
Step 6. Leave a Ventilation Gap Top & Bottom
This ensures warm air rises and pulls fresh air through, keeping the cladding cavity dry.
Step 7. Finishing and Ongoing Maintenance
Apply a high-quality breathable paint, stain, or oil, and maintain it every 2–5 years depending on weather exposure.
Done properly, this kind of install helps your home breathe, sheds water, and actually reduces damp risk, not adds to it.
Choosing and Treating Softwood: What You Need to Know
Not all softwoods are equal. Some are more prone to damp than others, and most require treatment before they’re ready to face the UK weather.
Common Softwoods and Their Risks:
- Pine: Cheap and easy to work with but highly absorbent. Must be treated or will rot quickly.
- Spruce: Often used in budget cladding, but poor durability outdoors unless fully treated.
- Larch: Naturally durable with good resistance to rot and insects. One of the best untreated softwoods.
- Douglas Fir: Strong, moderately resistant, but benefits from treatment in wet climates.
Treatment options available for Softwood:
1. Pressure Treatment (Tanalising)
Wood is treated under pressure with preservatives that protect against rot and fungi. This is the minimum for exterior softwood.
2. End Grain Sealers
The ends of timber boards are most vulnerable to water. Sealing them is essential, especially any cuts made on-site.
3. Paints and Oils
Use breathable, microporous coatings that let moisture escape. Avoid plastic-like paints that trap damp underneath.
4. Fire Retardant Treatments
Especially important for cladding on higher buildings or those near boundaries. Look for Class B (Euroclass) rating or higher.
5. UV Protection
Many people forget this — but sunlight breaks down timber over time. UV oils or stains help prevent fading and cracking.
Key Tip: Treated wood still needs regular maintenance.
The UK’s wet climate means even treated wood can deteriorate if neglected. Plan to inspect and recoat every couple of years, more often in coastal or exposed locations.
When to Call in the Experts
If you’re unsure about any of the following, it’s worth calling a damp proofing specialist or experienced cladding installer:
- You already see signs of damp on exterior or interior walls
- You’re not sure if your walls are dry enough to clad
- Your current cladding is stained, warped, or smells musty
- You’re building an extension or upgrading insulation
A qualified surveyor can check moisture levels in your walls and advise whether it’s safe to proceed — or if damp treatment is needed first.

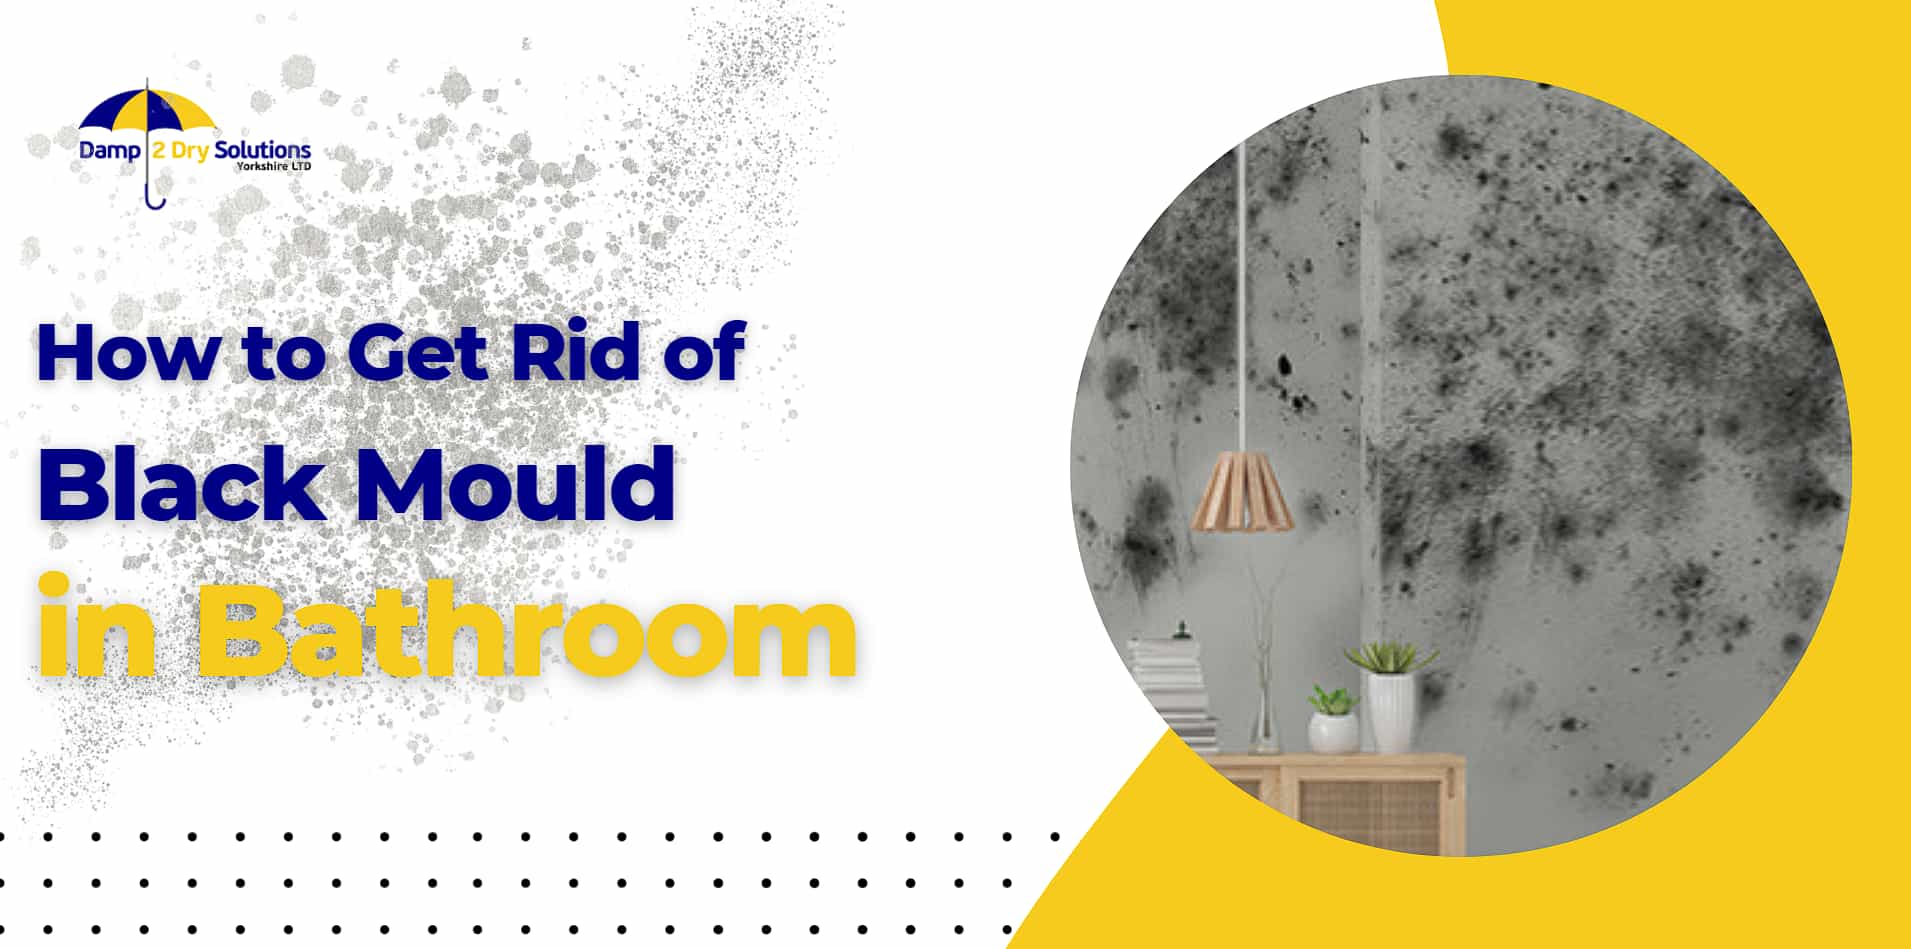
Also read: How to Get Rid of Black Mould in Bathroom? | How To Get Rid of Damp in Bedroom?
Final Thoughts: Softwood Cladding Doesn’t Cause Damp — Bad Installations Do
Cladding done properly can improve insulation and make your home look fantastic. But done poorly, it can trap damp, rot timber, and damage your walls from the outside in.
To prevent that:
- Let walls dry first
- Use the right materials and methods
- Choose treated timber and maintain it regularly
Damp issues don’t come from the wood itself, they come from skipping steps.