Skirting boards might seem like a purely decorative trim running along the bottom of your walls – but they do more than just look nice. They protect the base of your walls from knocks, cover expansion gaps in flooring, and help create a neat finish.
When damp or mould creeps into skirting boards, it’s not just an eyesore. It can signal deeper problems like rising damp, poor ventilation, or hidden leaks, all of which can damage your home and even affect your health. The good news? If you catch it early and take the right steps, you can stop the damage and prevent it coming back.
Spotting the Signs Early
One of the best things you can do for your home is to keep an eye on your skirting boards.
Visual clues to look for include:
- Discolouration – dark patches or staining that won’t wipe away.
- Swelling or warping – wood or MDF skirting boards can absorb moisture and change shape.
- Peeling or bubbling paint – a classic sign of trapped moisture underneath.
- Musty smell – often present before you see mould.
Sometimes, damp problems can start before anything visible appears. If you notice cold, clammy air around the base of your walls, persistent condensation nearby, or floor coverings staying damp longer than usual, it’s worth investigating, even without obvious mould.
Why Are My Skirting Boards Damp?
Condensation and poor ventilation
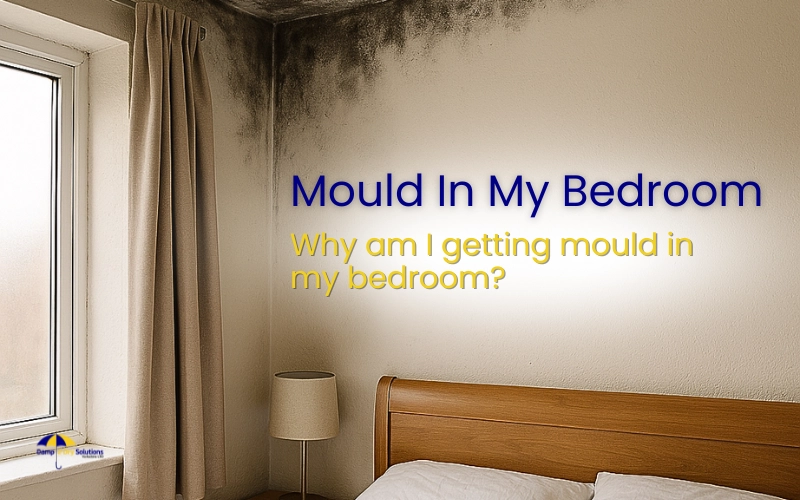
Everyday activities like cooking, showering, and even breathing release moisture into the air. Without good airflow, this moisture condenses on cooler surfaces, like the lower part of walls behind furniture – and can soak into skirting boards over time.
Rising damp from walls/floors
If your damp proof course (DPC) has failed or is missing, moisture from the ground can travel up through brickwork and into your walls. This rising damp often shows first on skirting boards as tide marks, bubbling paint, or crumbling wood.
Leaks from plumbing or guttering
A slow drip from a radiator pipe, or rainwater running down a wall due to broken guttering, can soak into wall bases and skirting boards. The damage may build up quietly for weeks before you spot it.
Other external factors (ground levels, blocked air bricks)
If outside ground levels are higher than your internal floor level, or air bricks are blocked, moisture has an easier route into your walls. This can trap damp at skirting board height.
Is It Rot, Mould, or Just Damp on My Skirting Boards?
- Dry rot – Caused by a specific fungus, this eats away at the wood’s structure, leaving it brittle and cracked. You might see a dusty, reddish spore covering.
- Wet rot – Stays in damp, poorly ventilated areas and leaves timber spongy or soft to the touch.
- Mould – Appears as fuzzy or slimy patches (usually black, green, or white) on the surface.
The difference matters because dry and wet rot require removing and replacing affected timber, while mould can sometimes be treated on the surface – but only if the underlying damp source is fixed.
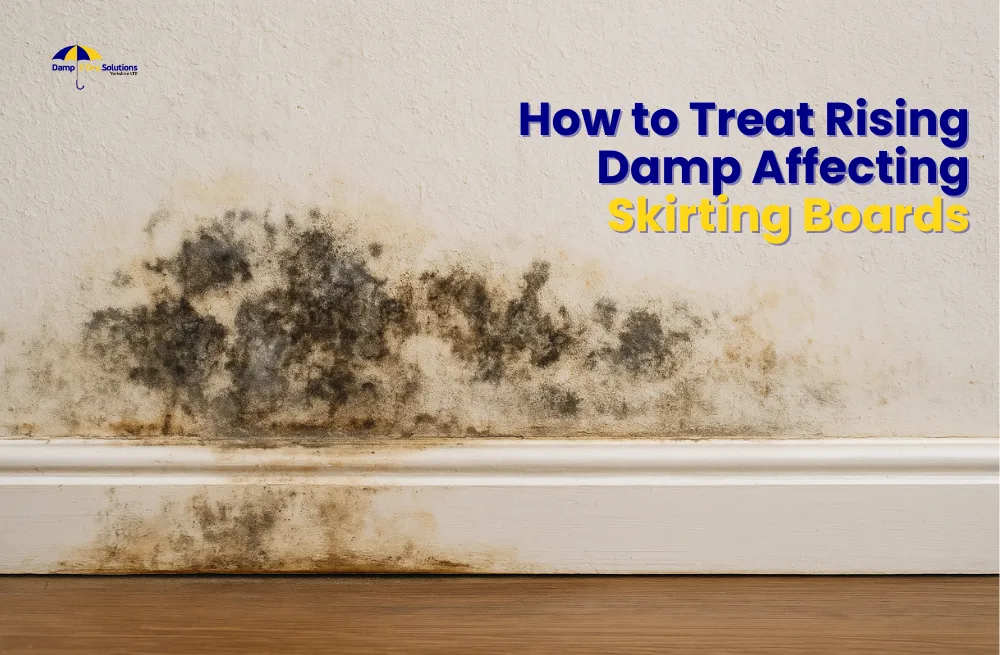
How to Treat Rising Damp Affecting Skirting Boards

Rising damp is one of the most common culprits when skirting boards start showing damage, especially in older UK properties without an effective damp proof course (DPC) or where the original barrier has failed. Unlike condensation, which comes from the air inside, rising damp originates from the ground. Moisture travels upward through porous brick or stone via capillary action, carrying salts that can leave visible tide marks and slowly degrade timber and plaster.
To effectively tackle rising damp affecting skirting boards, you need to combine immediate fixes with long-term prevention. Here’s how:
1. Improve ventilation (trickle vents, air bricks, extractor fans)
While ventilation alone won’t stop rising damp, it can reduce the secondary effects like mould and musty smells.
- Trickle vents in windows allow a constant flow of fresh air without the big heat loss of leaving windows wide open.
- Air bricks in the walls (above ground level) improve airflow in underfloor voids, which helps dry out damp joists and skirting board backs.
- In rooms like kitchens and bathrooms, extractor fans should be strong enough to clear steam within minutes.
When you improve ventilation, you’re creating conditions where damp evaporates faster instead of being trapped in timber.
2. Check and fix guttering/downpipes
Leaking gutters and downpipes are one of the most overlooked causes of rising damp symptoms. When rainwater is allowed to splash down exterior walls, it keeps the base of your walls permanently wet, which overwhelms the DPC.
- Inspect after heavy rain – look for water spilling over edges or dripping at joints.
- Clear blockages from leaves, moss, or bird nests twice a year.
- Replace any cracked or missing sections promptly.
Even a minor gutter leak can be enough to feed damp into your skirting boards over time.
3. Inspect and repair the Damp Proof Course (DPC)
A functioning DPC is your main defence against rising damp. If it’s damaged, bridged, or missing entirely, moisture will keep travelling upwards no matter what else you do.
- In many UK homes, the DPC is a horizontal barrier made of slate, bitumen, or plastic sheeting about 150mm above ground level.
- Chemical DPC injections are a popular modern solution – small holes are drilled into the mortar, and a water-repellent cream is injected to block further moisture movement.
- For severe cases, a physical DPC replacement may be necessary, though it’s more disruptive and costly.
If you’re unsure about your DPC’s condition, a damp survey will pinpoint the issue.
4. Adjust ground levels outside if needed
If soil, gravel, or paving has built up against your external walls above DPC height, it creates a bridge for moisture to bypass the barrier.
- Lower the ground level so there’s at least 150mm (about two brick courses) between the ground and your DPC.
- Where lowering isn’t practical, a drainage channel or French drain can redirect water away.
This small change can have a big impact on keeping moisture out of your skirting boards.
5. Replace or repair affected skirting boards with treated timber
Once the source of rising damp is under control, turn your attention to the damaged skirting boards. If you’ve got a rotten skirting board, there’s no saving it – the timber has already lost its strength and will continue to deteriorate.
- Remove all softened, rotten, or salt-damaged sections.
- Treat the surrounding wall base with an anti-fungal and anti-salt solution to prevent future deterioration.
- Replace with moisture-resistant timber or MDF, preferably pre-treated. For extra defence, paint the reverse side with a damp-resistant primer before installation.
If you skip this step, the damp-affected boards may continue to deteriorate even after fixing the main problem.
How to Treat Condensation-Related Damp
Condensation is far more common than rising damp, especially in modern airtight homes where moisture from cooking, showering, and drying clothes has fewer ways to escape. It tends to appear in cold months and on cold surfaces, including the lower walls behind skirting boards. While it’s less structurally destructive than rising damp, it can still cause mould, bad smells, and paint or timber damage.
Here’s how to tackle condensation-related damp on skirting boards:
Using dehumidifiers effectively
A dehumidifier isn’t a magic bullet, but it can quickly reduce indoor humidity to safer levels. The key is using it properly:
- Placement matters – keep it near damp-prone walls or in the same room as problem skirting boards.
- Set humidity targets – aim for 45–55% relative humidity for most UK homes.
- Continuous mode in winter can help prevent condensation before it appears.
If you’re drying clothes indoors, place the dehumidifier nearby to capture the extra moisture.
Adding insulation to cold spots
Condensation forms when warm moist air meets a cold surface. If your skirting board area is cold due to uninsulated walls or floors, insulation can make a huge difference.
- Internal wall insulation (insulated plasterboard) adds a thermal layer to keep walls warmer.
- Underfloor insulation in suspended timber floors prevents cold air from cooling the boards from below.
- Even floor-level draught excluders can help by stopping cold air ingress at skirting height.
Condensation may not always cause a rotten skirting board, but over time, repeated exposure to damp air can soften timber and lead to decay. By improving insulation around cold areas, you reduce the risk of long-term water damage and protect the boards from becoming breeding grounds for mould.
Preventing moisture build-up in specific rooms (bathrooms, kitchens)
Some rooms are natural condensation hotspots, and skirting boards here suffer most.
- Bathrooms – always run the extractor fan during and after showers; leave the door open slightly to let humid air escape once you’re finished.
- Kitchens – keep pan lids on, use extractor fans, and avoid leaving boiling water or kettles steaming near walls.
- Laundry areas – avoid drying clothes indoors without ventilation. If unavoidable, open windows or use a tumble dryer with an external vent.
By controlling humidity at the source, you dramatically reduce the risk of condensation reaching skirting boards in the first place.
How to Remove Mould from Skirting Boards
Here are some safe cleaning methods for painted, varnished, or untreated wood
- For painted boards – use a mild detergent and warm water, then dry thoroughly.
- For varnished wood – lightly wipe with a damp cloth and mild soap, avoiding excessive water.
- For bare wood – sand lightly to remove surface mould, then treat with a fungicidal wash.
If mould covers a large area, keeps coming back, or is linked to underlying structural damp, it’s worth getting expert help.
To prevent mould from returning, address the root cause, be it poor ventilation, hidden leaks, or rising damp. Only a lasting solution will keep it at bay.
If your skirting board damp is linked to structural issues, or it’s spreading to other parts of the house, it’s time to call a damp specialist.
A professional damp survey will not only confirm the cause but also give you a clear treatment plan, often backed by a guarantee.
Quick Long-Term Prevention Tips
- Using damp-resistant materials and paints: Moisture-resistant MDF, treated timber, and anti-mould paints help protect against future issues.
- Regular maintenance checks for leaks and ventilation: Check gutters twice a year, inspect plumbing for drips, and make sure vents aren’t blocked.
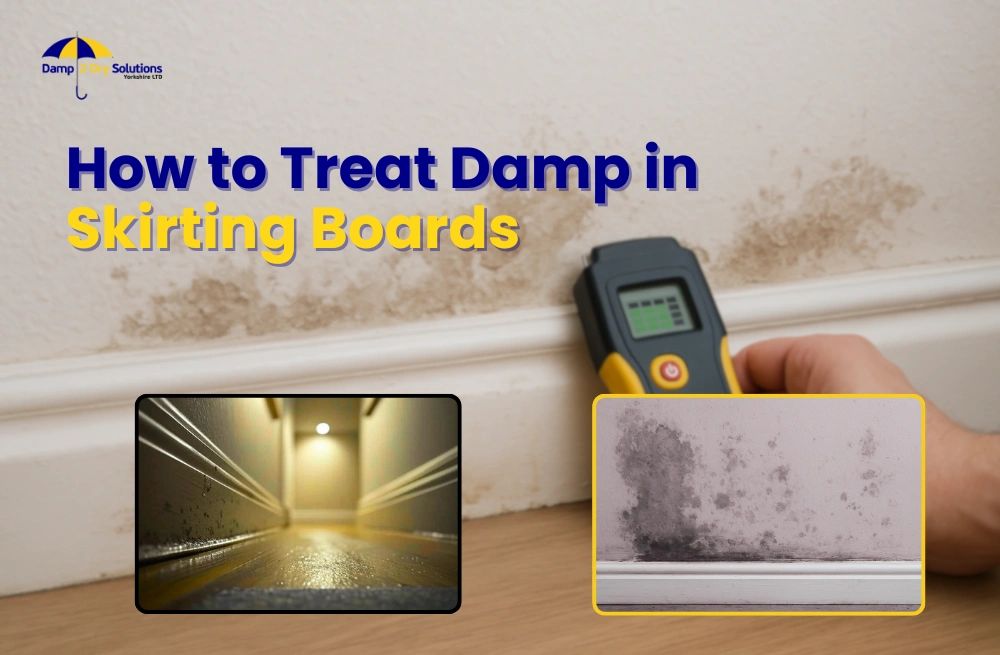
- Ongoing monitoring of moisture levels: A simple moisture metre lets you track readings over time and catch problems early.
Final Word
Damp in skirting boards is more than a cosmetic problem – it’s a sign your home is telling you something’s wrong. Acting quickly not only saves you money on repairs but also protects your home’s structure and your health.
If you’ve spotted the signs and want peace of mind, Damp 2 Dry Solutions (Yorkshire) Ltd. can inspect, diagnose, and treat damp problems professionally across Leeds, Sheffield, Huddersfield, Bradford, Halifax, Bridlington, and Wakefield. Your home deserves to stay dry and healthy, let’s keep it that way.


